Blue seabird clay designs
  • Home
  • Gallery
  • Get In Touch
  • Blog

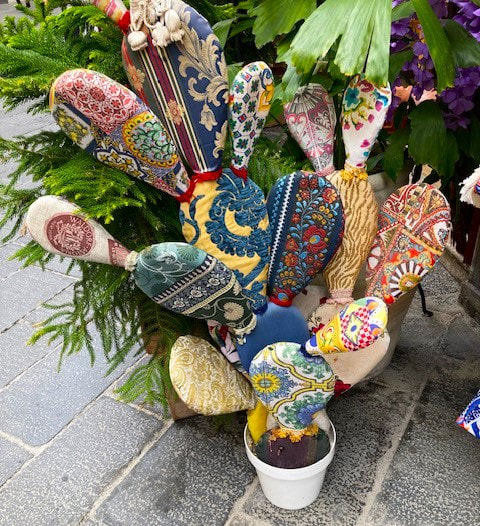
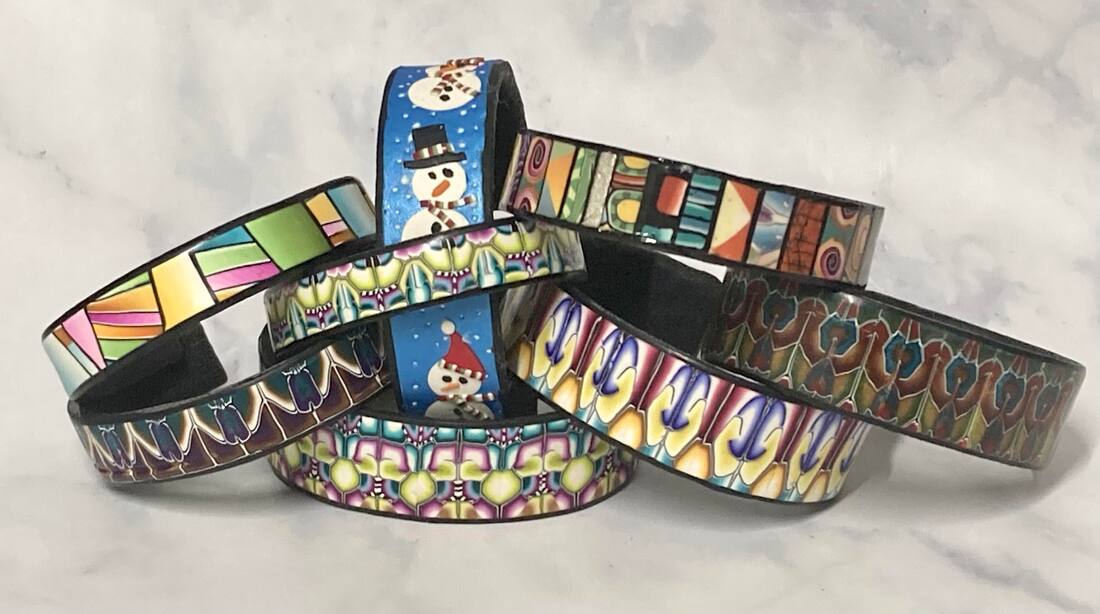
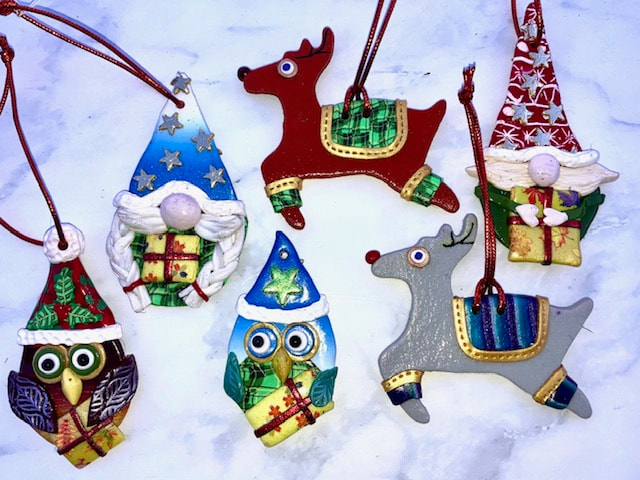
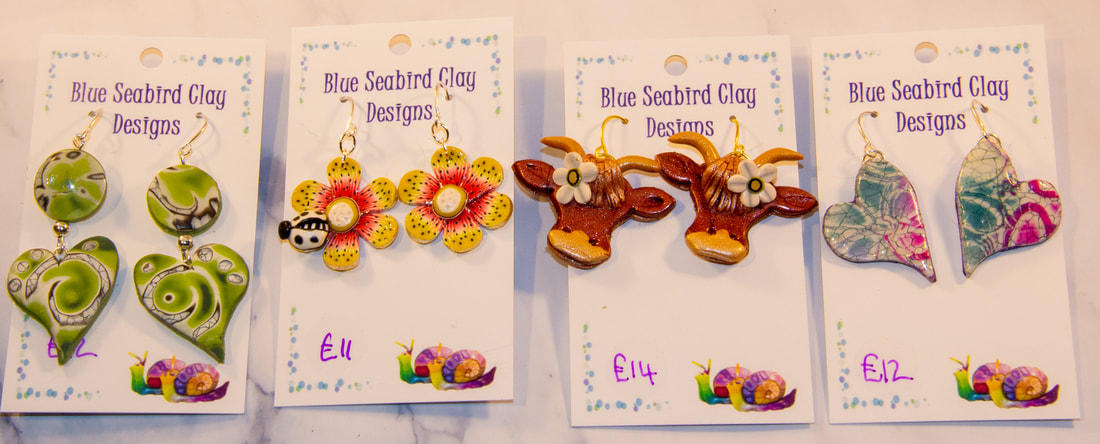
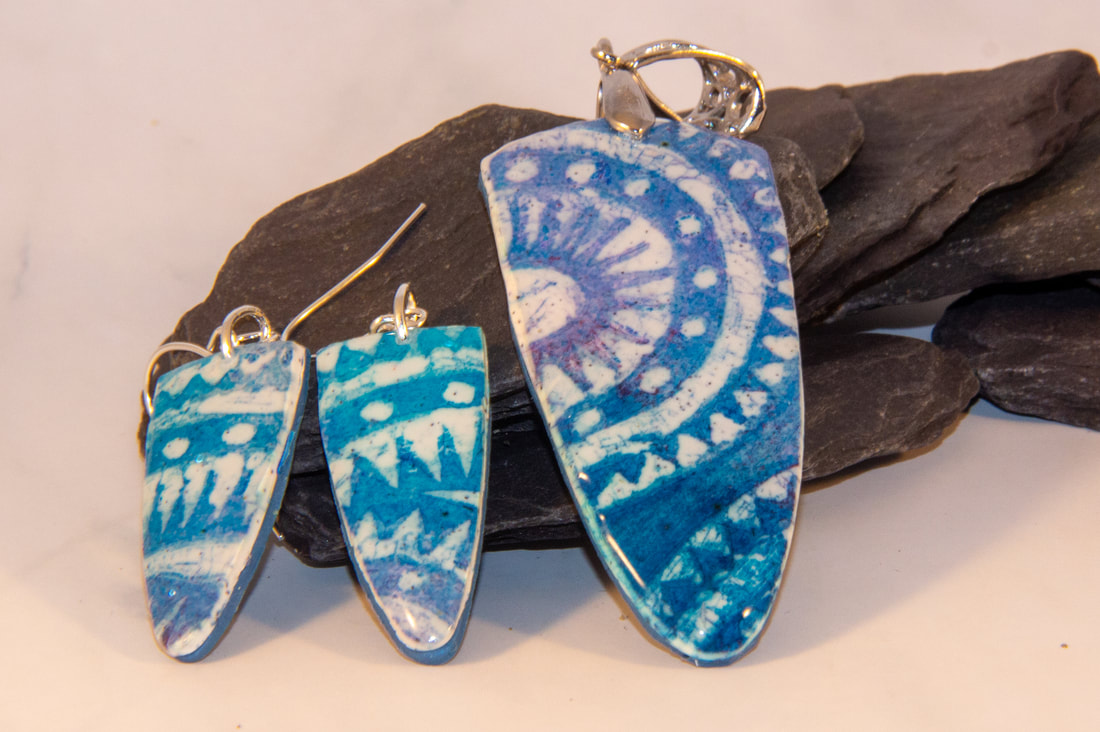
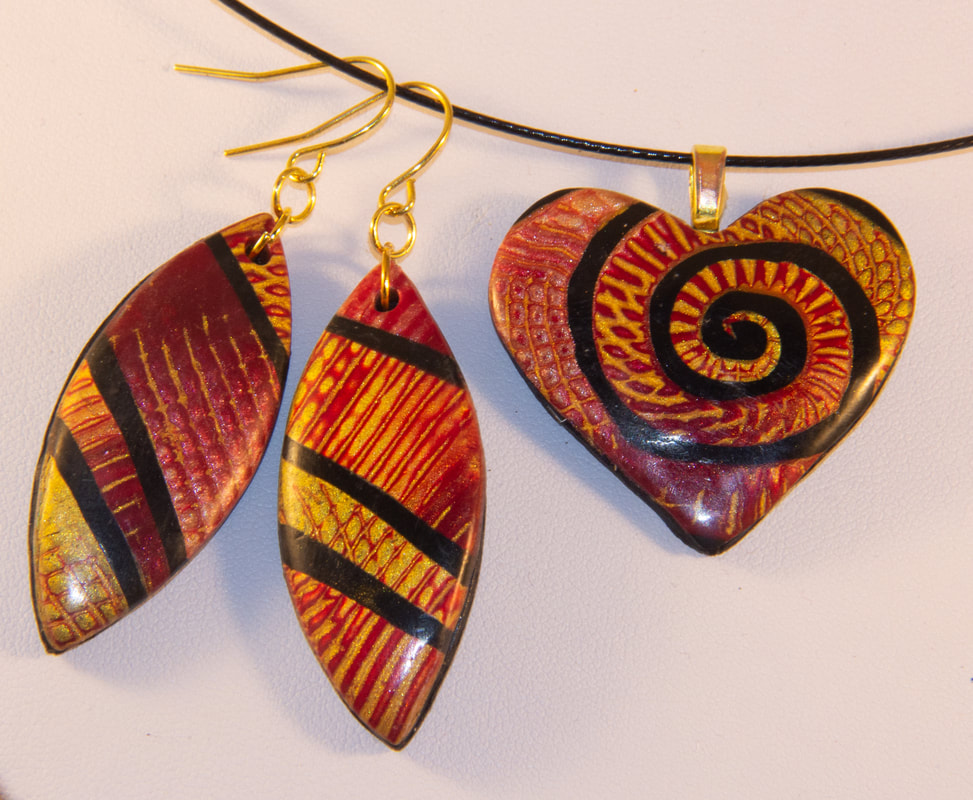
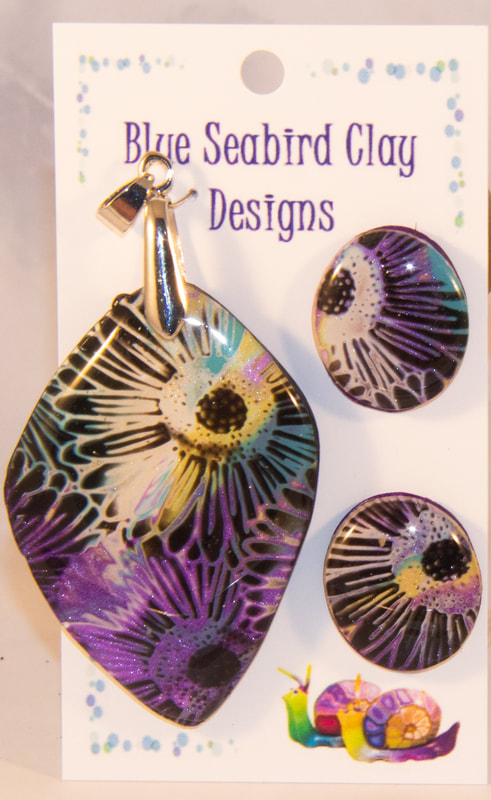
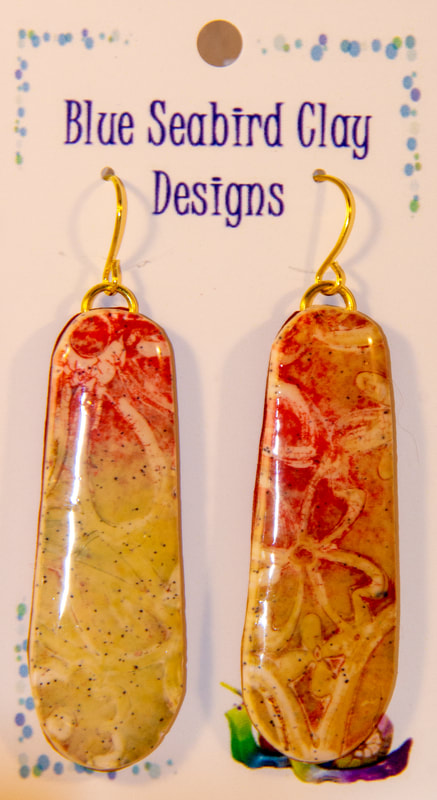
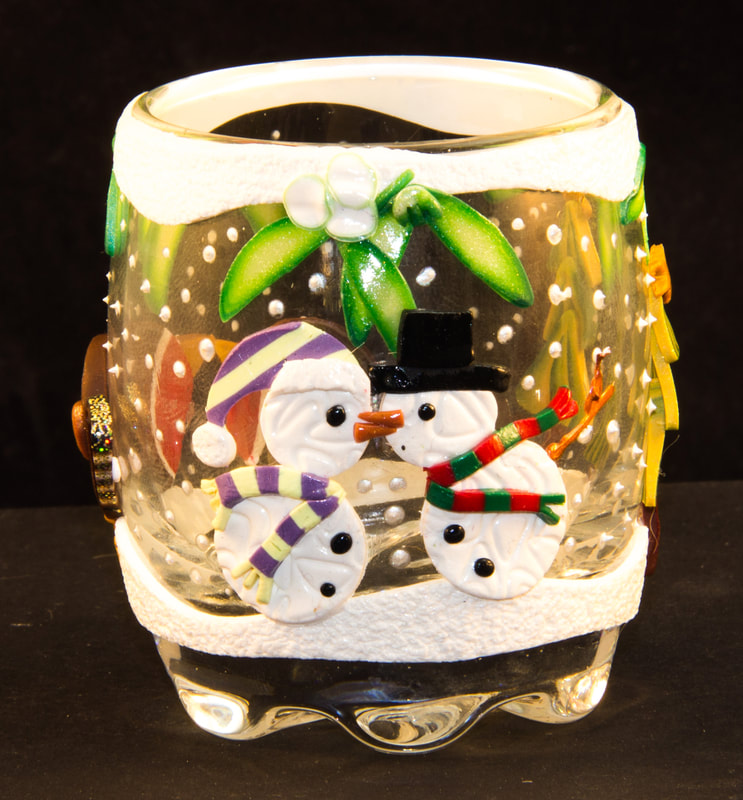
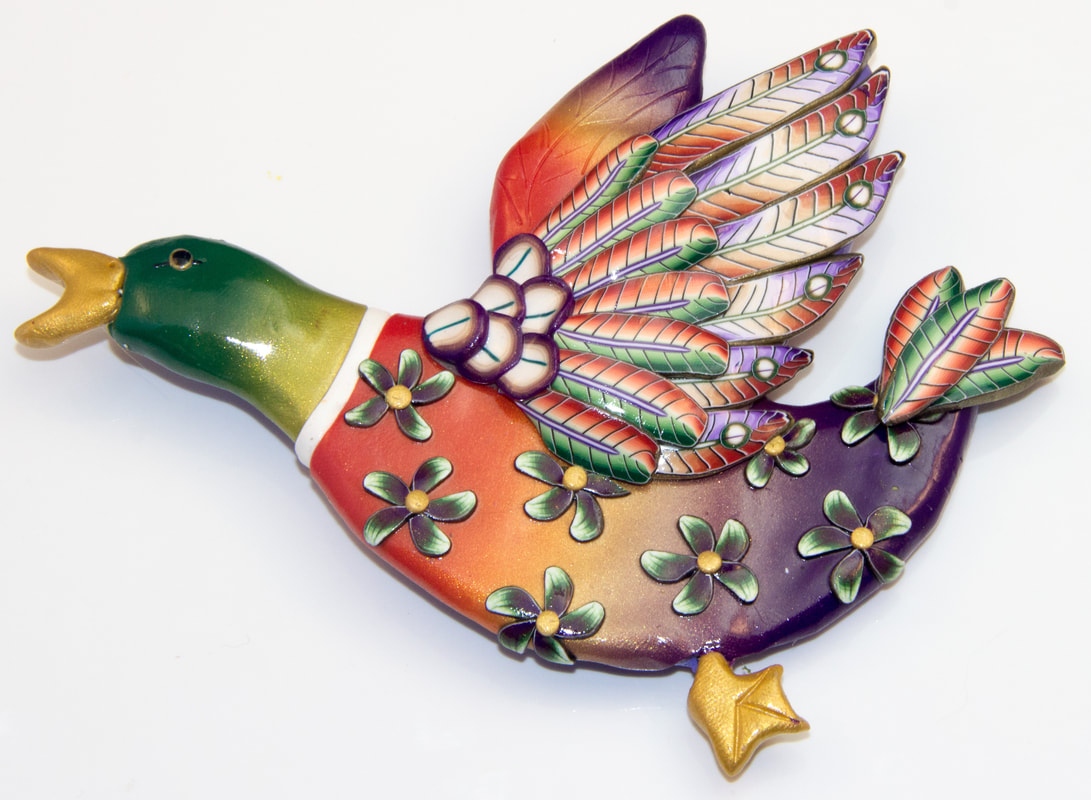
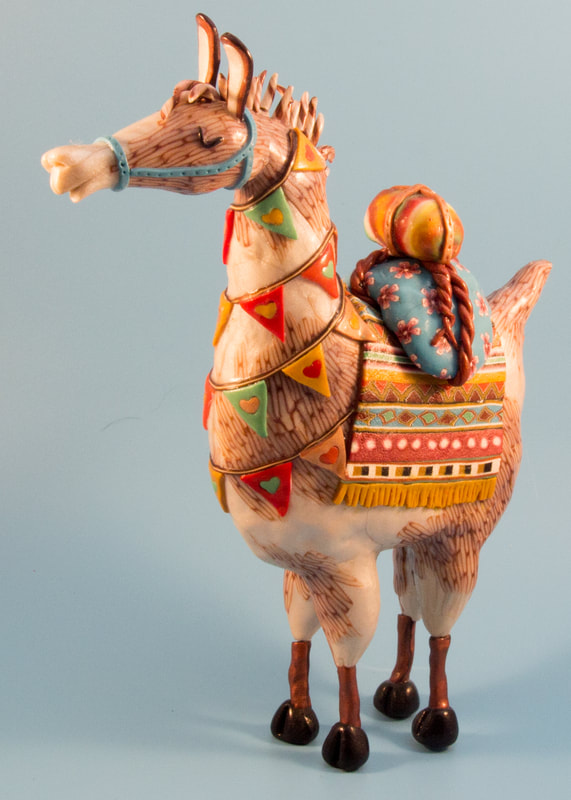
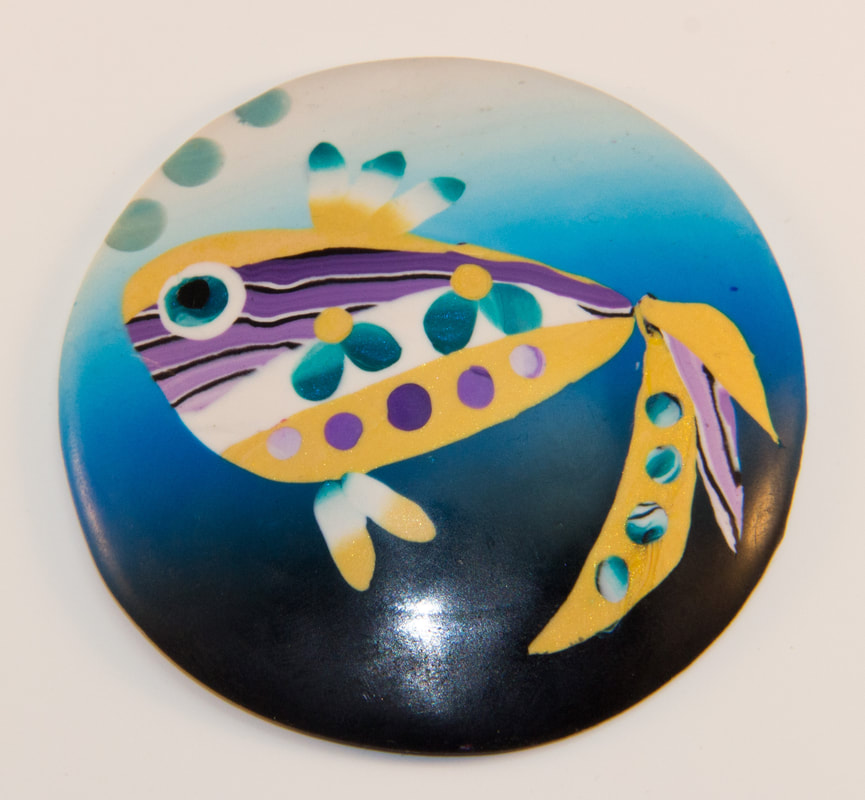
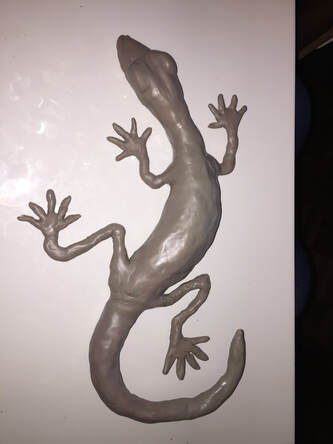
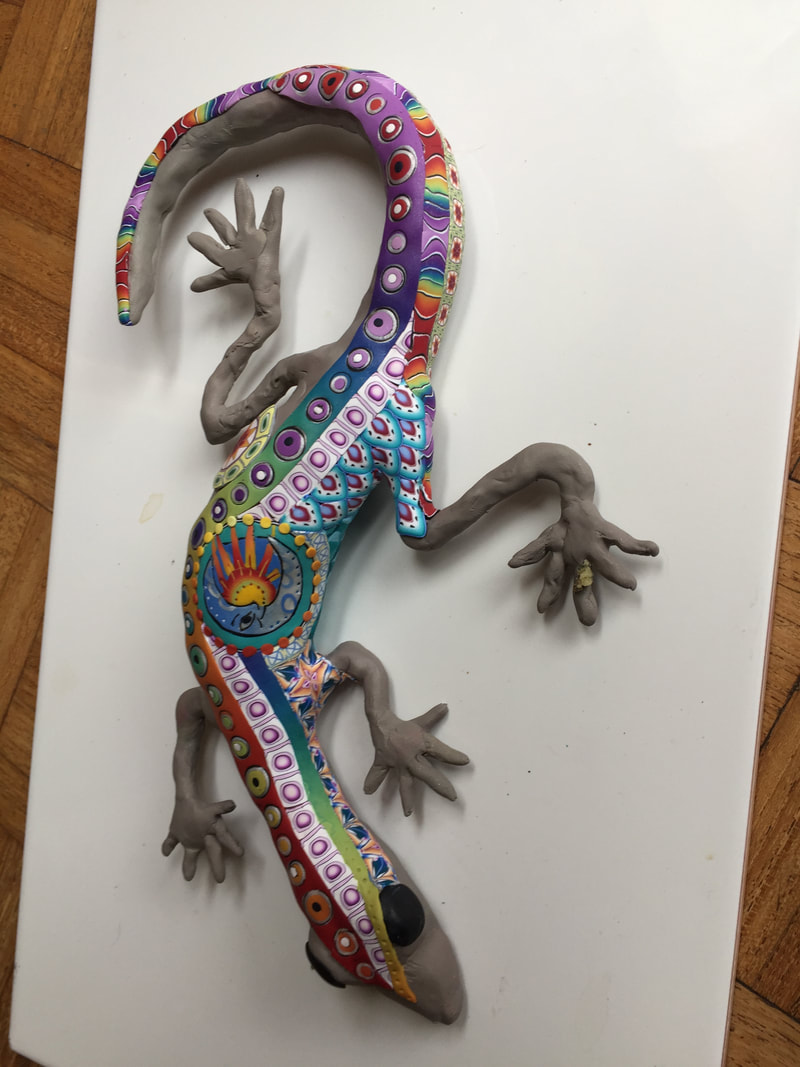
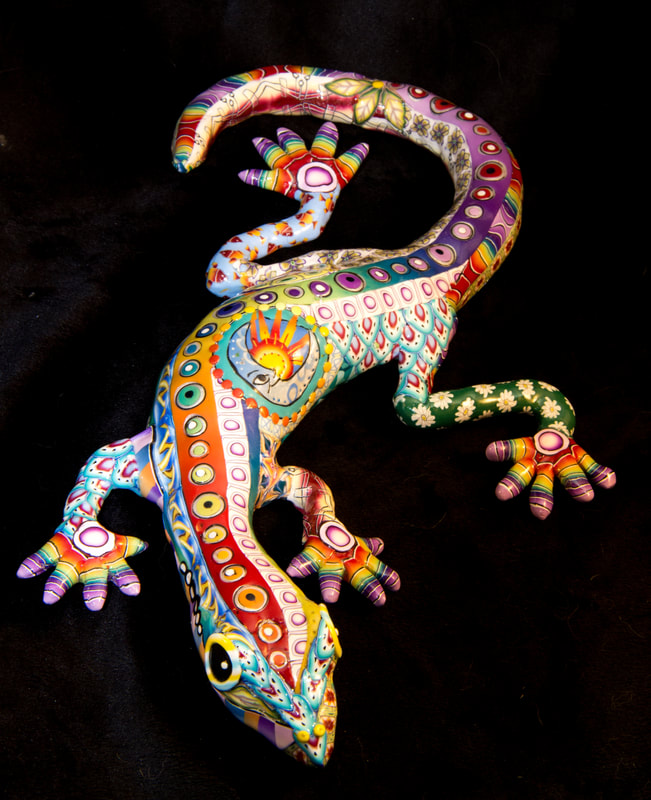
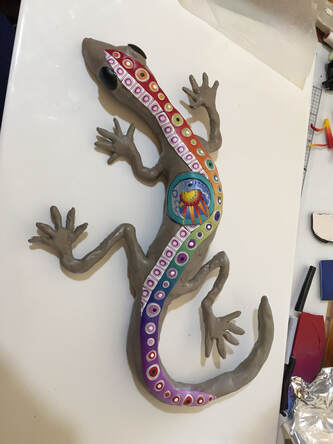
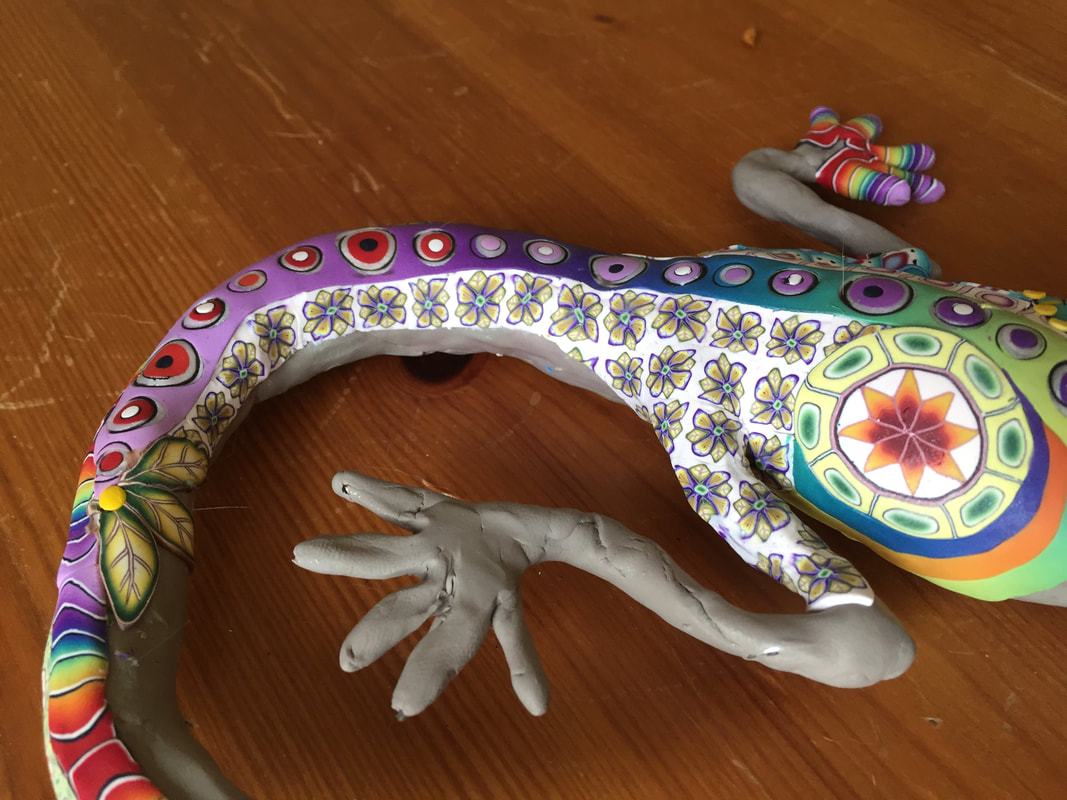
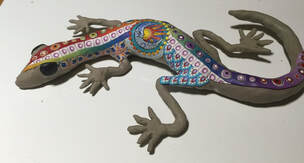
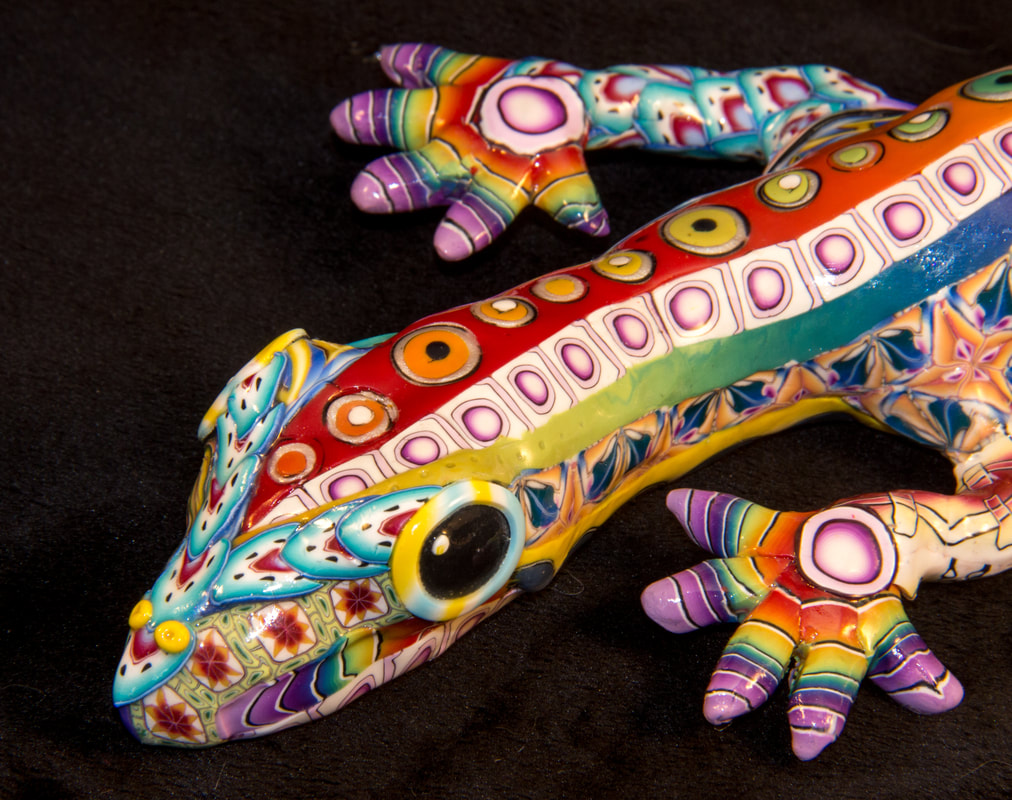
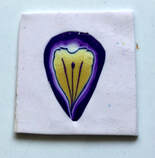
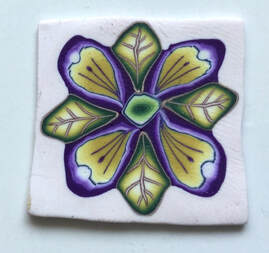
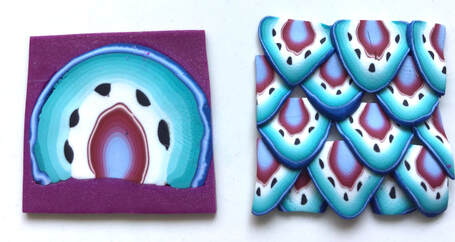
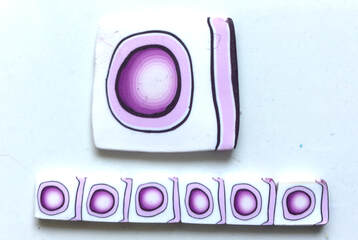
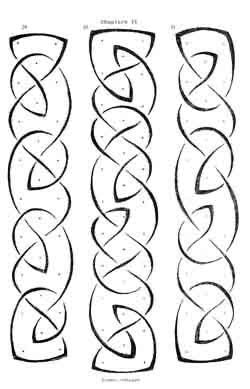
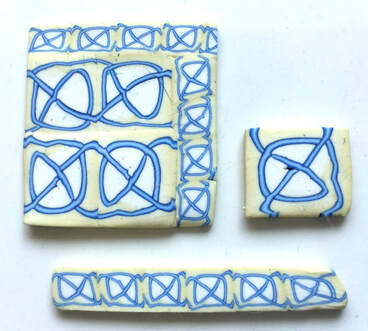
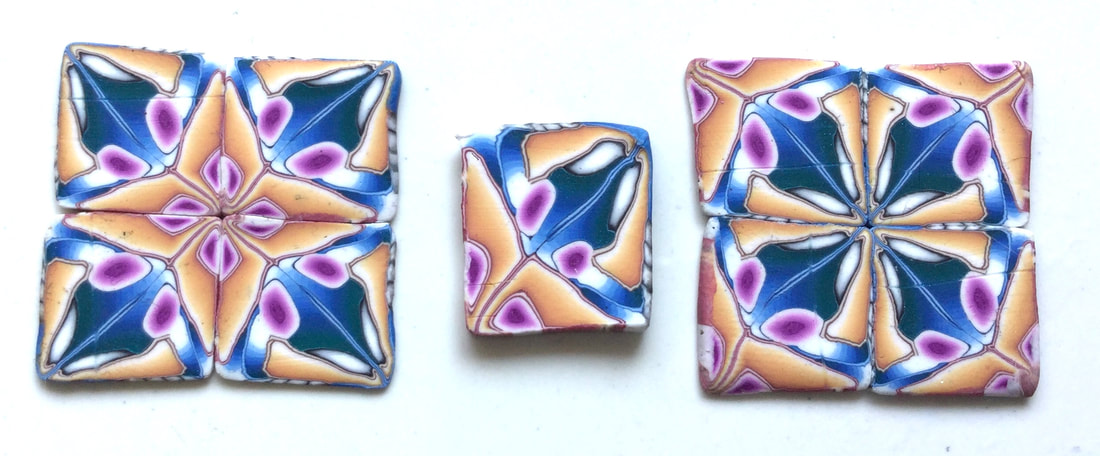
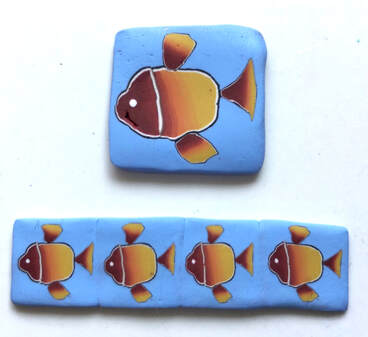
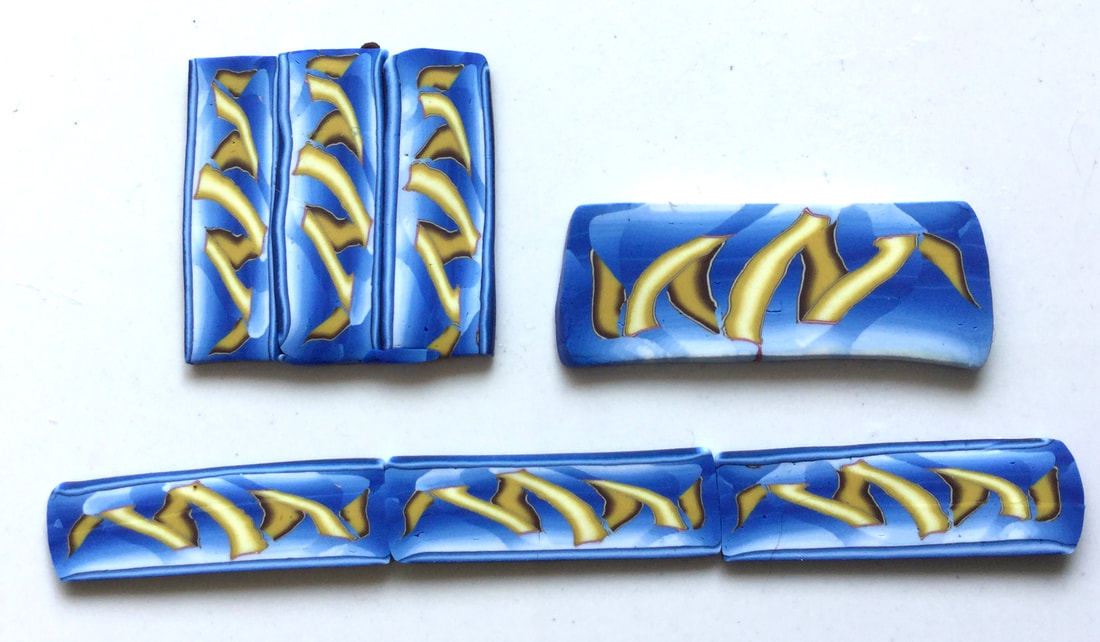
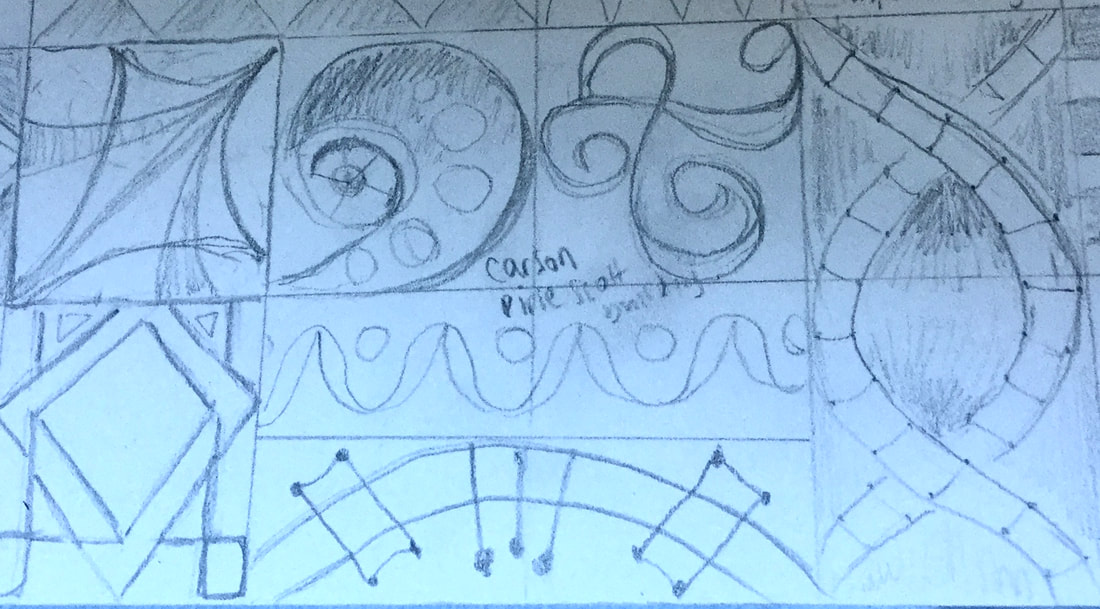
If caning be the food of love, clay on!

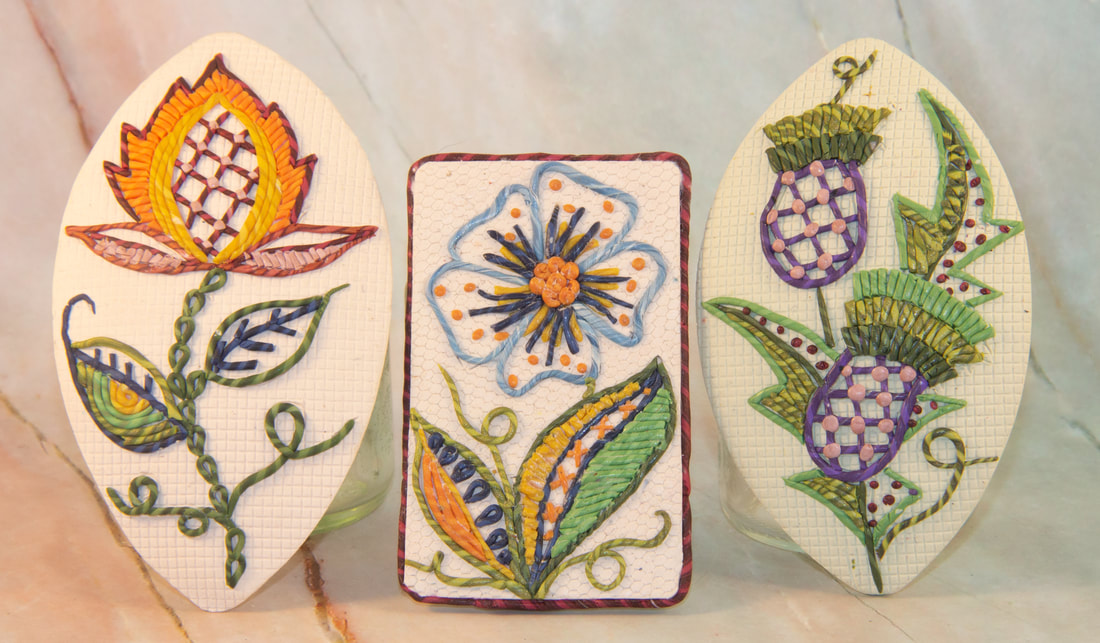
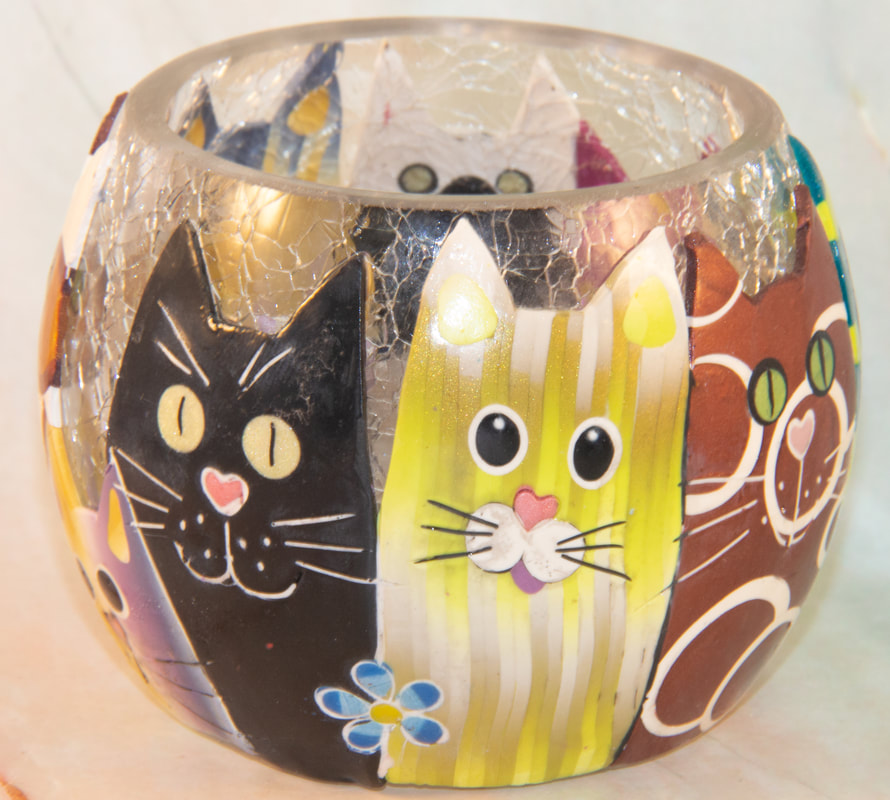
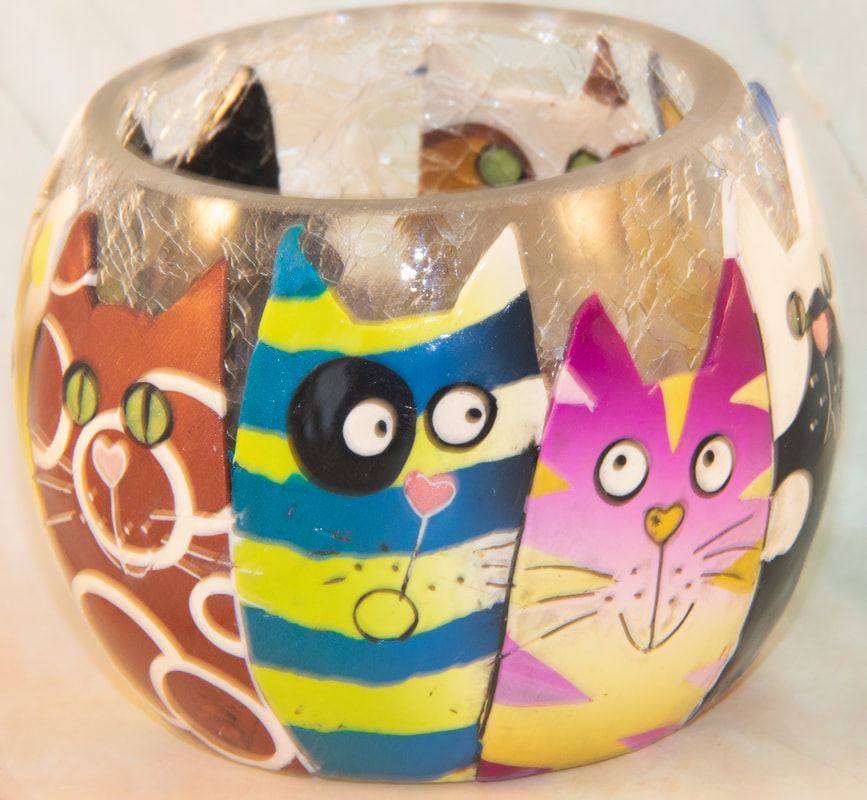
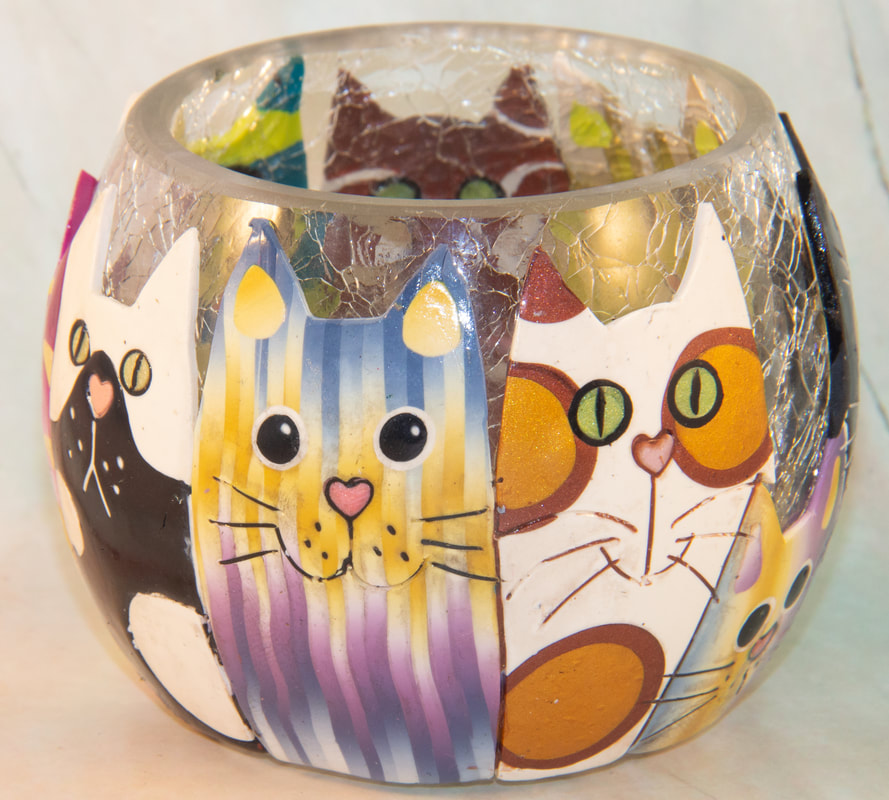
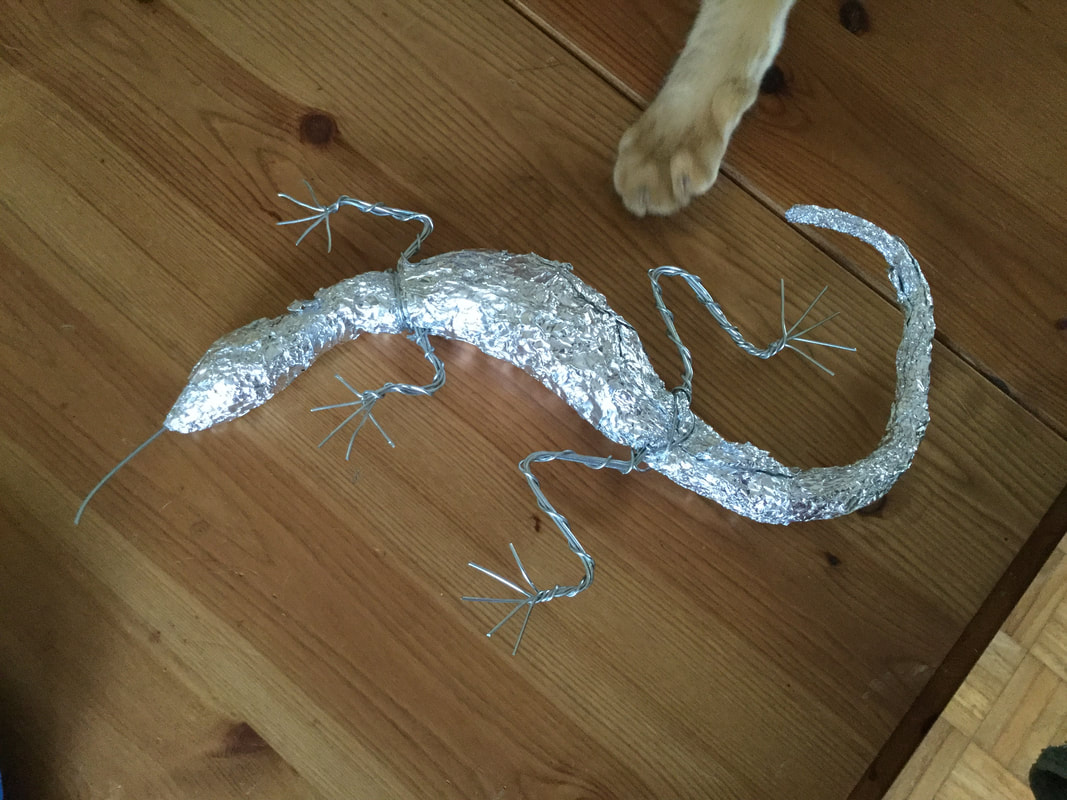
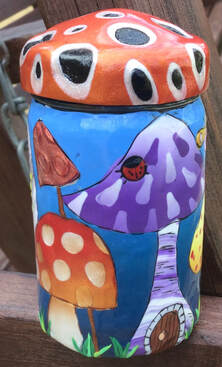
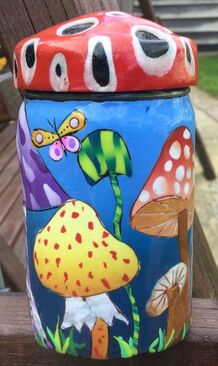
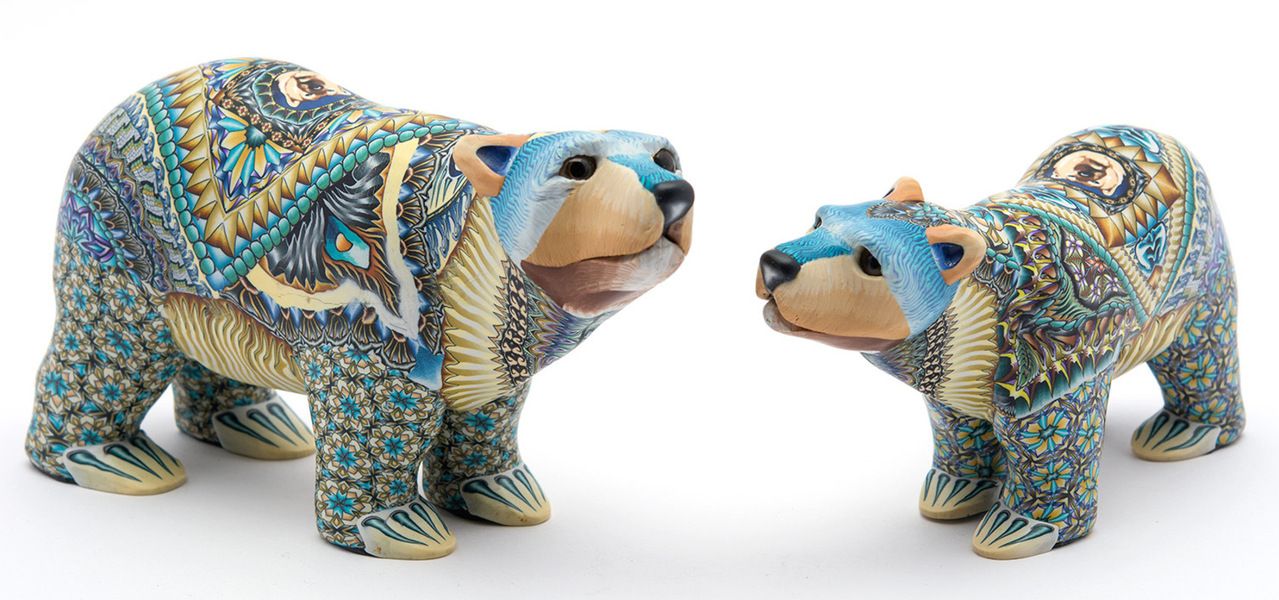
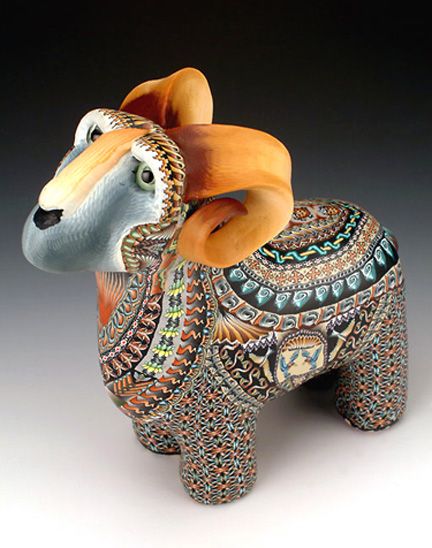
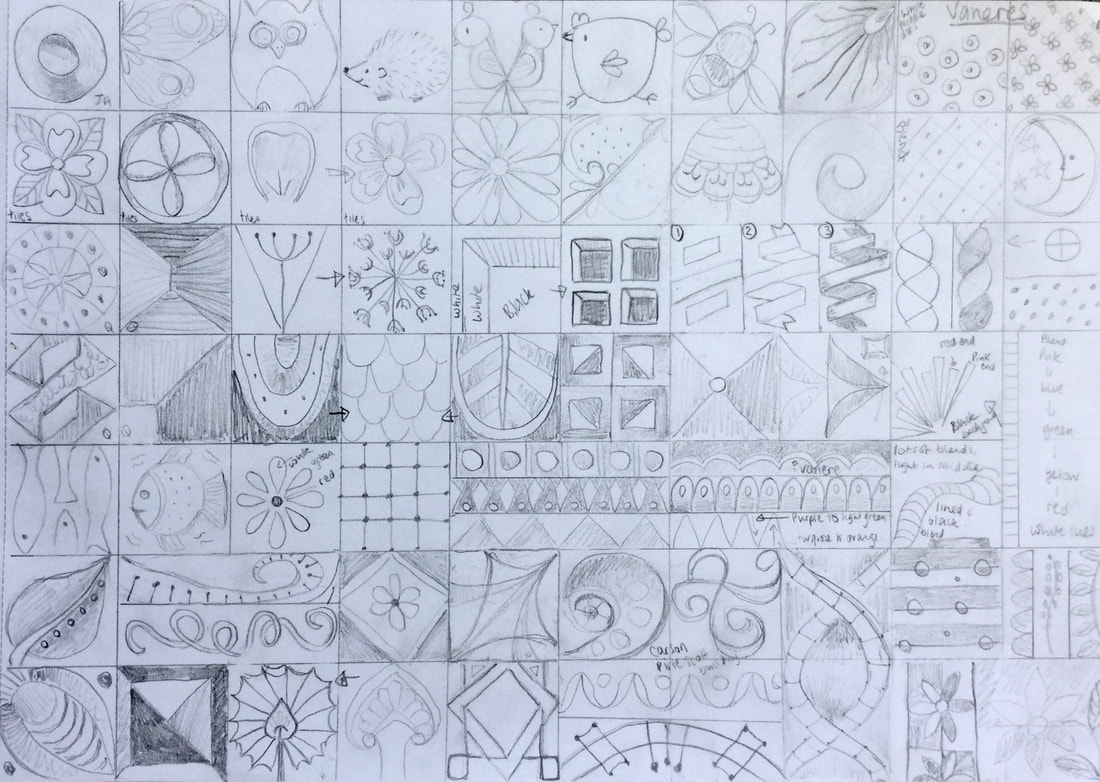
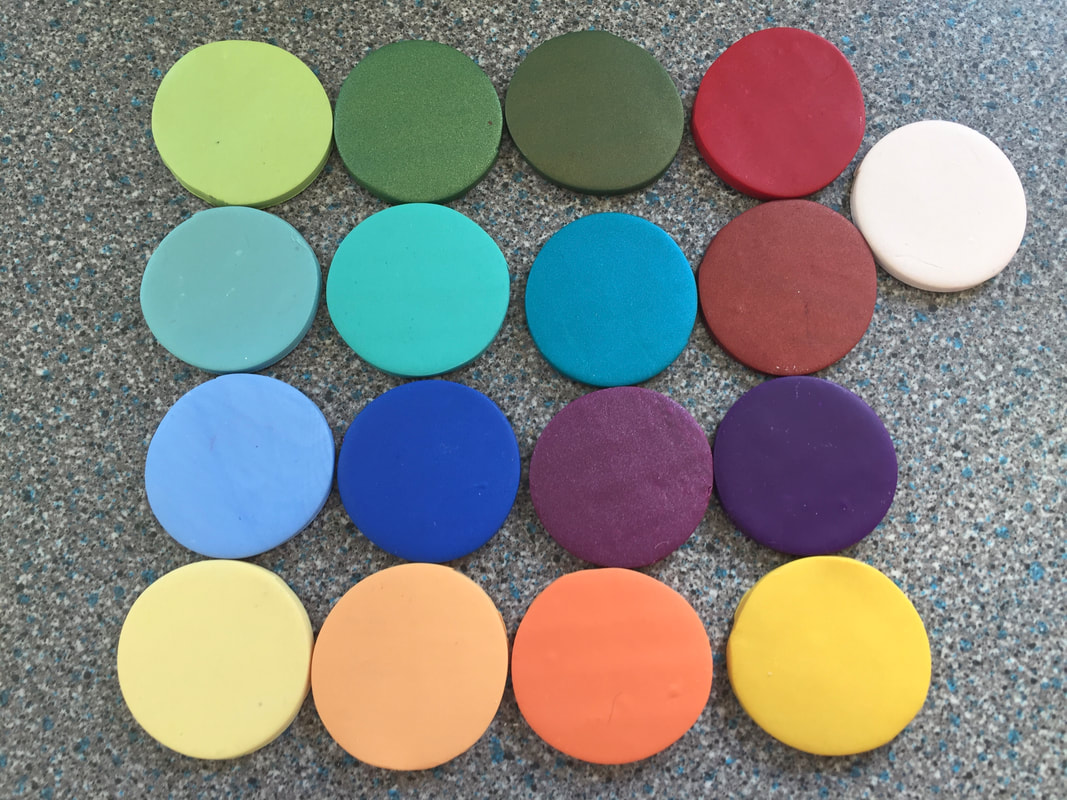
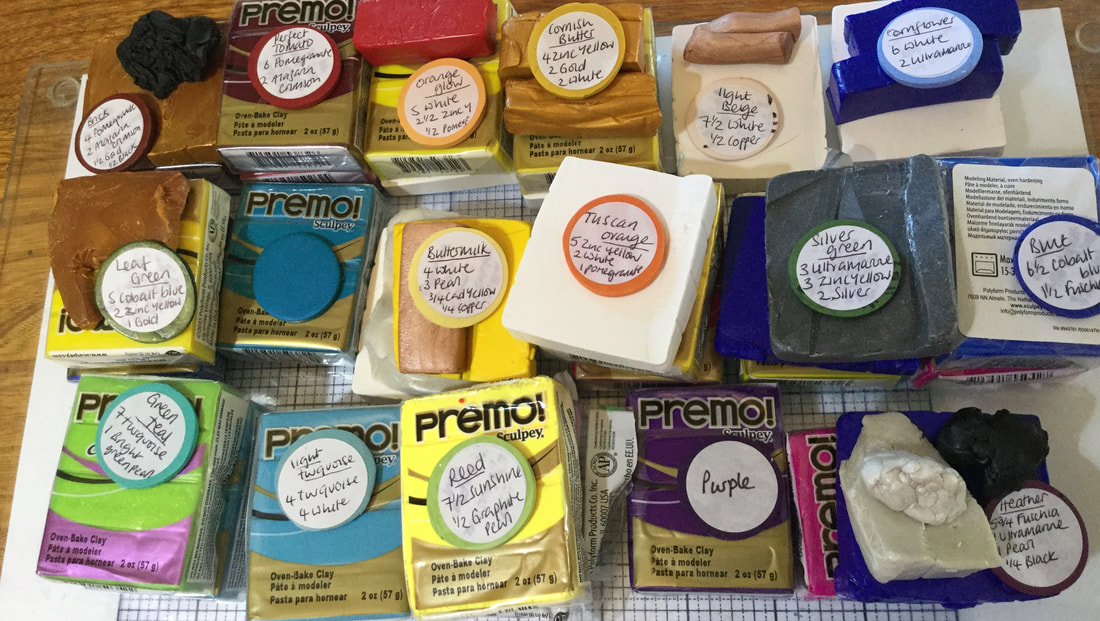
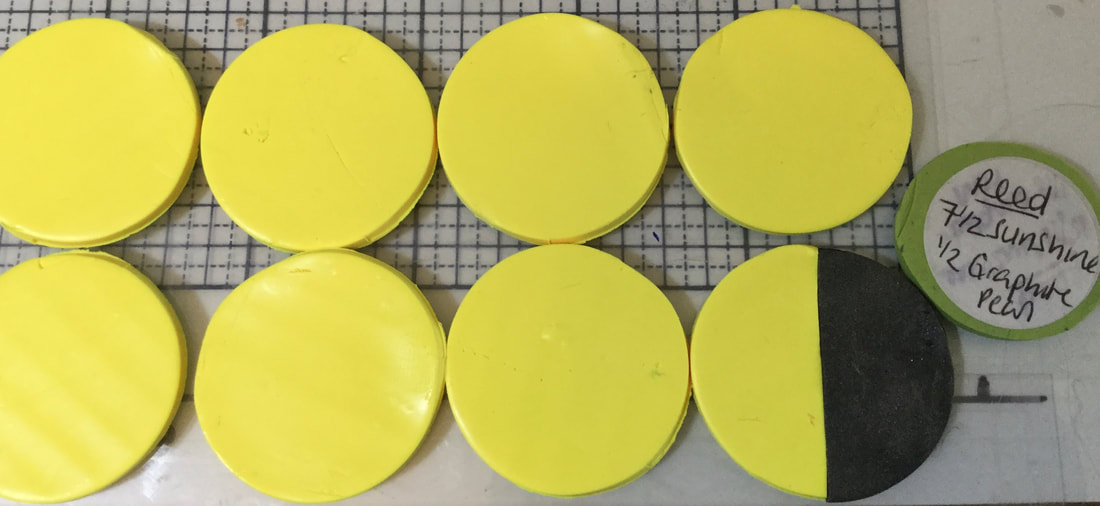
I've been claying since around 2012 and absolutely love it. Polymer clay is so versatile and I'm always trying to find new and fun ways to create designs. I find inspiration for my clay everywhere; in colours, shapes, patterns, nature and structures. Join me in my ramblings about my world with polymer clay.

Book number 3 - a children's book this time

7/24/2022

2 Comments

 
 I decided when my grandson Toby was born, nearly two years ago, that I'd write a book for him. Several people have suggested I do this, using my clay animals as the illustrations and story, so that's what I've done. I don't think Julia Donaldson will have any sleepless nights over it, but hopefully Toby will like it, and I've had a lot of fun making it.
Because the book is in rhyme, I had to make more animals. Gheko is not an easy animal to rhyme with, nor is rabbit, so a pig, sheep, squirrel and mice were made to order, just for the book. Here's the cover and back.
Picture
Of course I had to make my dog, Basil. Every book should have a Basil in it.
Picture
One of the projects I finally finished recently was crewel embroidery in clay. My grandmother used to make wonderful crewel embroidery items, and I remember her showing me once, saying that she never followed a pattern, just used to make it up as she went along. She also cooked like that and was a wonderful cook. 
Anyway, I digress (spot the person on a diet, always thinking of food), I found an old crewel embroidery book, made a clay palette of colours, and then started making wool. Now I've worked out how to do it, it's easy, but boy did it take a while to sort out. This is why artists get so cross when someone uses their ideas and doesn't credit them. The wool may be simple to do, but the hours of work behind it to get it right, wasn't so simple. 
The British Polymer Clay Guild are very kindly going to run the workshop - I couldn't do it without the wonderful Cara Jane and Debby Wakely sorting out my technical issues! It's going to be on October 9th, by zoom, and hopefully a few people will attend. Here are some of the things I've made with it.
Picture
Picture
Picture
Picture
As you can see, it can be used on many things, I particularly enjoyed making the light switch surround, but it really bugs me that it doesn't fit properly! Problem is, it wasn't quick making it, so I'm not going to make another one. I'll just have to live with the imperfections, and try not to twitch every time I look at it!

I've been quite busy making things for the cat charity, Colchester Caring for our Cats, before long I'll have enough projects to make into a tutorial book, which I can sell for them. Cat pendants and earrings were my latest makes. and this tea-light holder.
Picture
Picture
Picture
The problem with being creative, but not technically minded, is that I have lots of ideas, I then think I'll make them into a book, then I get stuck as I can't remember how to do this, or that, and of course I never wrote it down two years ago when I last did something similar. This time I'm going to be more sensible. I have a lot of pieces of paper with scribbles of passwords, apps, websites, how to do things etc, which I'm going to put in some sort of order and keep safe. I'd bought 10 barcodes last year  - obviously thinking I was going to write lots of books! - but it took me two hours to find them. 
It took me a further five and a half hours to find out how to access the email associated with my website, and just now when I tried to update some photos on the home page here, I had to give up as they all appeared the size of a postage stamp.
All I can say is that I make very good tea, and am not bad at clay. 
No-one can be great at everything!
The children's book will be out hopefully on 13th August, on Amazon, so I hope you like it if you buy it. 
2 Comments

Book 2 has arrived!!

12/12/2021

1 Comment

 
Finally, around four years after the first book, book two has been completed and published. I decided after the first book that I'd be more organised this time and make each project into a tutorial straight away, but funnily enough this didn't always happen! It's just so difficult working out my weird and haphazard notes many months after I've finished a project. My notes are incredibly random and discombobulated, and if I write them up straight away I understand them, but a few months later and it's like reading Hebrew. Perhaps book three will be different.............
Picture
So, above is the front and back of the book, and I think the back says what it contains. I was a bit concerned that the price on Amazon was £36, when I'd set the book for £28, but it has so many photographs, nearly 1,370, that it's probably to be expected. I just like to show people photographs of each step so everyone can do the projects. I always like pictures to learn from as opposed to just words, so am assuming everyone else is the same! 
I'm actually very pleased with this book, and really hope than anyone who buys it likes it too. I've tried to make it a mix of sculptures, jewelry and other things, however, I never really plan to design a particular thing, I just look around for inspiration, and eventually get an idea, think about it a lot (usually on the way to work in the morning), and it finally becomes a project. For example, I saw a ornament of a metal flat cow on a friend's shelves, and thought that it was a great idea, so many months later designed a polymer clay flat cow, which was one of the Polymer Clay Adventure projects I submitted.
Picture

This book really tested my perfectionist traits. If I wanted to make it as I wanted to, it would be ready in around 2025, so I decided that my mantra was going to be 'it's good enough'.
Funnily enough, I'm good at telling other people this, but rubbish at following my own advice. 
However, I'm not thinking about book three, which is funny as I'd decided not to write another one, but people are so nice about my book, especially my Irish friends, that I think I might, just, possibly, think about it :) 

​So what's in the book:

Picture
Picture
Picture
Picture
Picture
Picture
Picture
Picture
Picture
Picture
Picture
So, apart from the book, the other thing I've been rather focused (read obsessed) on is my yearly Christmas cat tree decoration project. I decided to make 100 cat decorations in order to make £600 for the Colchester Caring for our Cats charity. For those who don't know, this group of lovely people helped me get my cat back when he escaped at the vets, and I've tried to support them ever since. 
Picture
In the end I made over a 100 cats, and made £714 for the charity. I'm already working on next year's fundraising project.
I'm now in that lovely position where I can sit back and think about what I want to do next. The problem is that I have three ideas and not sure which one to pursue. I think it's going to be the Crewel embroidery one. My grandmother used to do lovely Crewel embroidery and I'm going to try and re-create this in clay.
In between working, getting ready for Christmas, looking after my many animals, and cooking the odd meal for my long-suffering husband!
Hope you all have a lovely Christmas and New Year, and look forward to sharing my clay obsession with you all in 2022. And fingers crossed, covid willing, we'll be able to meet and clay together as well!
1 Comment

Clay for all Seasons:

10/27/2021

3 Comments


I'm not going to apologise for it being nearly a year since my last blog, I'm just going to say that sometimes things get in the way. If you're reading this I'm truly grateful to you for not having given up on me :) 
During Covid work has been incredibly intense. I work in the NHS, in mental health, and understandably the lockdown affected people's mental health in so many ways. And when life becomes challenging, what's the first thing that goes......creativity!
So, enough of all that. What have I been up to over the past year - in between work and coping with Covid.
I'm aware of what I'm good at in clay, and more importantly what has potential to improve. And designing jewelery has always been something I've struggled with. I love caning, love sculpture, and love designing, but the  art of putting things together to make a pleasing and original piece of jewelry has always alluded me. So I went on a couple of courses with the wonderful Christine Dumont. I learned so much, but also learned an important thing about myself...... that designing jewelry was not my strength!
I actually don't mind that. I found a wonderful quote that spoke to me regarding my quest to become a jewelry designer:
"Failure in unimportant. It takes courage to make a fool of yourself" - Charlie Chaplin. 
While I don't consider what I did made a fool out of myself in any way, the important thing was that I tried. I tried incredibly hard (anyone who knows me knows that I never do things by half), and yet somehow I never really 'got' it. However, I then made a snail and bingo - success!!!!!!
​

Picture
I wanted to make something that was decorative, yet functional, with an original cane design, and that could be adapted to make a pendant. This little snail is an ornament, a ring holder (very sexist I feel saying that women like to take their rings off to do the washing up, but hey ho, my mother always does so that's where I got the idea from), and the cane can be made into a pendant, as below:
Picture
This little snail made me smile. 
It made the people I gave it to smile. 
It made someone who had lost a family member know that I was thinking about them.
It gave me a lot of fun creating it.
It gave my friend Linda lots of fun making up colour combinations for the shell cane.
It gave me the opportunity to teach my first on-line clay workshop with the British Polymer Clay guild, where 60 people made the snail.
And most of all, it made me realise that I have a style. I said to my friend Penny Vingoe of Clayaround (a wonderful place to buy clay and all clay needs) that I wanted to have a style, and about three years ago told me that I DO have a style. I'm a slow learner, but I actually think she's right!

So, apart from slimy creatures, what else have I been doing?
You'll notice the header for the blog is 'A clay for all seasons', well, that's the title of book 2.
Yes, finally I'm nearly there with the second book. I'm so pleased with this book, I've had such lovely reviews and comments about the first one, and it's very similar, same sort of quirky designs, with canes and other techniques included, but I feel I've evolved in this book. I've attended a lot of workshops, absolutely love learning new techniques, and these have helped me grow as an artist and develop my own techniques and canes. 
It's again a book for everyone, from beginners to more experienced clayers, but I want anyone who is interested in polymer clay to be able to pick it up and make what I've made. Being an Occupational Therapist I'm quite good at adapting tasks to meet the demands of differing levels of expertise, so hope the book is suitable for all levels. Why 'Clay for all seasons' I hear you ask. Well, it gave me the opportunity to make four different page headers. Is that reason enough :)
Picture
Picture
Picture
Picture
There are 13 projects, three for each season with an extra one, with a real variety of pendants, sculptures, tea-light glasses,and Christmas ornaments, with techniques such as cane making, mica shift, silk-screening and steampunk. 
I'm hoping to get it out before Christmas, but it's more likely it will be January/February 2022.
This is a rather short blog post, but at least it's done!
My plan to set up a website and write regular blog posts was probably unrealistic once Covid struck, but hopefully will get easier now. I aim to get the book written and published, then probably look to doing more tutorials rather than another book, with a view to doing more workshops, preferable face to face, but also by virtual means. I suppose there has to be something good coming out of everything, and Covid has at least kicked dinosaurs such as myself into the virtual world, and even I now run therapy group happily on Microsoft Teams! You adage 'you can't teach old dogs new tricks' is obviously wrong!
Let's hope it's not 10 months before the next post.
3 Comments

"I'm so excited... and I just can't hide it" (seriously bad singing alert)  https://gumroad.com/a/977859699

10/17/2020

0 Comments

 
However, I AM excited! For the second year I've been invited to teach at Polymer Clay Adventure (PCA 2021). Last year Pat the flat cow made an appearance, and it was so incredible seeing other people's 'Pats', and the way everyone put their own spin on them, there was even a flat dog! 
This year I've gone with cats - still with the animal theme. 
Picture
I'm going to teach a cat vase. Well, actually, I'm going to teach you how to make around 23 different cat designs and put them onto a vase. However, once you know how to make them you don't have to make a vase, you can make anything with them, I've made a pendant with my three cats on. 
For those who don't know what Polymer Clay Adventure is, it's a year long programme where 23 teachers teach their own projects, usually two a month. You are given a list of all the materials needed for each class, a prompt sheet of what to do when, and videos which show you exactly how to make the project. I of course have done my usual thing and gone totally overboard, and have done I think about 15 videos! At least I feel you get your money's worth.

So (I hear you ask), what do I have to do to enroll in this programme? What is it going to cost me?
Bearing in mind that the average simple PDF tutorial is a minimum of £12, for 23 full video tutorials you get it for $99. I know, I've switched between dollars and pounds, so, keeping to pounds sterling, that's about £77 for 23 tutorials, and a year to watch them. If you enroll this week the price is $99, but after that it leaps to $147, still incredible value, but really, why pay $48 extra!!!

Picture


In addition, if you sign up this week, you automatically get entered into the draw for a goody bag, and in one of these goody bags there is a golden ticket - a brand spanking new Atlas pasta machine.

So, for one week only, from the 18th - 14th October, the price is $99 for the 23 projects, and a chance to win a goody bag. I won one of these the year I entered the PCA, and it was amazing! 
I never know what angelina fibres were until I received that good bag ;) 
To join, go to https://gumroad.com/a/977859699  which will take you polymer clay adventure. Here are the 23 amazing tutors this year (I'm one of them, hear my squeal of excitement!!!!)

Picture
I just want to tell you a little bit about the history of the cat vase I'm teaching. I have three gorgeous cats; George, Pod and Casper. When I was designing the cat vase, Casper went missing. Because of covid we had to take him to the vet and hand him over in the car park. He managed to burst out of his cat basket and escape. We looked for him for a month, helped by a wonderful group called 'Colchester caring for our cats', who guided the hunt, supported me, and even provided a sniffer dog three times to help look for him. They were incredible, and after a month we managed to get him back. I'm going to donate the fee I get from my tutorial to this group, to help them look for other cats, and help other distraught owners like me, maintain hope that they'll find their cat. 
So, moving on from cats, what else have I been making?
Ages ago I bought this little set of 25 drawers, and it cried out to be made into an advent calendar, so here it is.
Picture
I had such fun making this. It's for my daughter who is a vegan, so I had to add sprouts and avocados to it. A lot of the drawer fronts were made with the same technique as the cat vase; it really is a versatile way of making fun projects. Despite a real mouse phobia, my favourite drawer is the skating mice! 
I'm currently doing a design course with a very experienced polymer clay artist. I'm loving this as it's pushing me out of my comfort zone. My aim is to make a pendant or necklace with the illusion of a fish jumping out of waves. Watch this space!!
0 Comments

The Gecko has landed.......

8/29/2020

0 Comments

 
Well, as promised, the next 10 canes/veneers, and....................I've finished the gecko!
Picture
I decided that if I was going to wait until I'd done all 100 canes and vaneers, the gecko would be finished in 2021, and with 20 done, I had more than enough to complete her. I'll go through the next 10 canes/vaneers first, then explain the steps to finishing the gecko. I can't keep calling her 'the gecko'. I love my gecko, I've sweated and sworn over her, so she needs a name...........
Quick aside, I've just looked on google for some ideas, and up pops 'adorable girl names ending with o'.......does that mean that there's a site for 'non-adorable, awful, or dated' girls names! Just saying.
Anyway, I liked Bobetto. So, Bobetto the gecko it is.


Picture
These are the next ten, the first four being vaneers and the rest, canes. I won't go through every one, but will just say that number 16 was inspired from the amazing building Jon Stuart Anderson recommended I look at (Carson Pirie Scott building in Chigago), and number 17 was inspired by the horsebox photo I took at the carriage driving event, shown in the last blog post. Talking about carriage driving (as I do a lot), I don't know if many people know that this has been my hobby/passion for the past 40 years. My father and I have driven a team of four ponies every Summer since about 1980. We used to share the driving, he'd drive one event and I'd be navigator, and we'd switch at the next one, but at the age of 75 he gave up and I've done the driving ever since, with dad on the back of the carriage as navigator. Anyway, this year I had the back operation, so couldn't drive. Dad, being dad, decided that he would drive, just a pair (2 ponies), but still, at the age of 85 this is quite an undertaking. The event lasts three days, with dressage on one day, a long marathon on the second, and an obstacle/cones course on the third. To say I'm impressed with him is an understatement, he drove brilliantly, and my sister, nephew and friend did all the hard work while I swanned around giving orders. Here are s few photos, then I'll get back to clay, honest!
Picture
Picture
Picture
I love the photo of Zebedee, being attended to by three humans after he'd finished the marathon....... our ponies are well looked after!
Picture
Picture
This is the vaneer I'm most pleased with. I started with four colours, made into Skinner blends, with the light in the middle, and very narrow. i then cut pieces off each of the blends and assembled them as shown, making sure the light part of each piece matched up with the next piece.
Picture
Picture
I then cut the sides into a wavy pattern with varying widths, and finally edged it with a very thin strip of white then black. Here is it on Bobetto. You can't see much of it, it's at the front under the black and white spots, but when I make something else, I think I'll make it the centre part as I wish I'd used it in a more prominent place - but I'd covered it in foil and forgotten about it - oops.
Picture
Number 12 was a bit of an experiment, and could be improved upon I feel. I basically cut circles of two different colours, cut them into quarters, and assembled as shown in the photo on the left below.
Picture
Picture
The photo above shows a triangle cane I made for fun with some of the remaining canes I had on my work table. I love doing this, sometimes I end up with rubbish, but other times I get a lovely cane that, as in this case, I can use.
Finally I'm going to show you a few photos of the sun and moon circle I made. I've seen other people make incredible canes of these, but I only wanted one slice, so thought I could do a better job making just the one vaneer rather than a cane. I started by making the design, and not worrying too much about the detail, which I was going to add in later. At first it didn't look much.
Picture
As you can see, I have the basic design, the shape of the moon, but there's no definition. I outlined the moon, and then outside, with black and white clay, which in hindsight was not a good idea as it broke, become messy, and I'd have been better back filling later. 
Backfilling means making lines and indentations in the clay when it's raw, curing it (cooking it) and then filling the lines in with clay and curing again. So, we have a sun and moon design which I'm fairly pleased with, but can see a lot of room for improvement. 

So, I put it on the gecko, then made the marks round the moon, a few dots, and also put in the moon's face. Once cured I backfilled with black and the whole thing became alive. However, I really didn't like the outside edge, so made a blend of yellow, orange and red, rolled it very thin and cut out circles of clay which I put round the edge - hiding the horrible bits! I'm actually very happy with it, and as all things, it's a learning curve, I'll know how to improve it next time.
Picture
I'm going to end with a few photos of Bobetta in progress, and some final photos of her finished. I've already started another project, which I'm thoroughly enjoying, and will share with you in the next blog. I'll also do the next 10 canes/vaneers for that, so, hope you enjoy looking at the birth of Bobetta.
Picture
Picture
Picture
Picture
Picture
Picture
Picture
Picture
0 Comments

Project gecko has started!

8/16/2020

4 Comments

 
It's going slowly, but it's going. I've seen on facebook several people doing '100 day challenges' relating to clay. One person made a clay bowl every day for 100 days, another did little squares of various surface techniques. So, not to be outdone, I'm also going to do one, but slightly differently. Instead of putting myself under the pressure of doing something every day for 100 days, (slightly unrealistic given that I'm still recovering from surgery, and once I've recovered I work full time), I'm going to do 100 canes and vaneers, mostly canes. This feels far more achievable, and still a challenge. I've done the first 10, and will aim to write a blog every time I've done another ten. 
So, here goes the first 10.
​
Picture
Picture
The first is a leaf cane or two. Everyone has to have a leaf cane, I love making them, and they just go so well in almost any design. I've done two, as shown. The second is a petal cane, again, a very useful one to have.

Picture
Picture


​Cane three is a flower cane incorporating both the leaf cane and the petal cane. I've decided to make 1" squares of all the canes, so when I've finished I'll have a nice record of the canes made in the challenge.

Picture
This one I got from a quilt design. I have had a lot of time to nose around Pinterest, and find inspiration for canes, and quilter boards are a brilliant source for cane ideas. I love the way this simple square cane can make a 3D effect. These canes are very roughly put together, when I use them to cover the gecko I shall take more care! But at the moment I'm just creating them.

Picture

Cane number 5 was designed to make a sort of feather effect once several slices were put together. I've overlapped them in the 1" square, but on the gecko I shall cut them to shape to make them lie flat. However, this is one I think I'll be making again for a chicken!

Picture

This one is designed to make a longer strip, perhaps to separate larger blocks of canes. I'm annoyed that the edges of the straight parts seem to bend at each end, but will probably be able to cut those parts off!
Six canes down, four to go.

Picture


I found this diagram somewhere on the Internet and thought it would make a great cane. 
I'm sure if I spent more time on it, it would, but I rushed it, and although I can use the cane, it didn't exactly work out as planned. 
The trouble for me at the moment is that I have a limited time I can sit at the clay table, and I'm sooooo wanting to make the canes, that I'm rushing them, hence the complicated ones not working out.
I'll have another go at this one before the next blog and see if I can get it right. I think if I can do it, it will be a great border cane. Below is attempt number one. Please ignore the incredibly grubby look of the cane!

Picture
Picture
This one was just a bit of fun. After the complicated one not working out as planned, I thought I'd just make a pretty right-angled triangle with blends I had left over, and double it up to make a square (the cane in the middle). The two squares either side of the small cane is how it turns out when several slices are put together. I was really happy with this one, which took about a tenth of the time of the previous one!
Picture


Cane number 9 is a little fish.
Once again, it's looking very grubby, but you can see the effect.
Doesn't help that I have three cats who think the clay table is where they come for fuss!
This again will be a border cane, but I was quite happy with how it came out.

Picture
...This last cane I have mixed feelings about. It's another one that is rather complicated, and has huge potential, but I just didn't take enough time over it. However, I quite often make canes quickly, and then decide whether I'm going to do them again and spend more time on them, and I'm definitely going to re-do this one, keeping the same colours. So, next blog this one will be returning, hopefully better. 

I saw a horsebox today, and thought "that bottom swirl would make a nice cane".................
​
Picture
.On a final note, the gecko body has been make, awaiting it's cane and vaneer covering. I think I'll cover it with clay and cure it before adding the cane slices onto the cured clay. Here is Gertie the gecko, waiting for her coloured coat. I've just noticed that one of the cats was about to get in on the photo! See you soon for the next stage of operation gecko.
Picture
4 Comments

Frustration is the mother of invention...

7/31/2020

4 Comments

 
Picture
Picture
As you can see, I'm not the English expert in my family! 
First I want to show you what I've recently made. I've been working on something that's taken a lot of time, but that has to remain undercover for now. I've made a wonderful discovery: my spice jars are the perfect size to cover in clay, they are large enough to get lots of designs on, but not too large that you start to lose the will to live before finishing it. I use a lot of spices, so have quite a few little jars - happy days - I decided to cover mine in mushrooms.
​
So, why frustrated? Last week I had a back operation, been needing it for the past year and it was postponed due to covid, so it's now finally done. 
Great, fantastic, really pleased about it............but I can't do anything!!! For those who know me will realise that I'm not a patient, calm, relaxed person at the best of times, and having to do nothing active all day is, shall we say, challenging. However, I'm an Occupational Therapist, and believe that if you want to do something you have to adapt certain things (in my case my expectations probably!) in order to make it more achievable.
So, realistically I can do very little claying. My sitting tolerance is 5 minutes, then I have to lie down or sit reclined. That's okay, it's not the end of the world; my lovely friend Lesley has taught me to be grateful for what I have, and I have a lot, just not clay at the moment.
So, back to adaptation. I have another friend (believe it or not, for a perfectionist, intolerant, obsessive, I have the most amazing friends) called Aoife. She's someone I strive to be more like, she's had a lot of operations (not striving for that part!) and always remains optimistic and cheerful, and is a talented clayer to boot. Anyway, I'm rambling, she suggested I put my pasta machine with the motor somewhere where I can use it standing. This means that I can now sit for 5 minutes at the clay table, then stand for about 2 minutes using the pasta machine. Rome isn't exactly going to built this way, but it's a start.
But there's more to claying than actually working the clay. For me, designing things is a part that I love, so I've been busy in my recliner chair thinking about a project I can work towards, one that will need a bit of planning.  A gecko - just what our house needs,  nice large gecko covered in polymer clay canes on the wall.
I'm totally inspired by a polymer clay artist called Jon Stewart Anderson. These are a couple of his sculptures.

Picture
Picture
His canework is incredible, like lots of little masterpieces all put together to make a sculpture. I've had a bit of time to really look at his work recently, and it was Jon's work that inspired me to plan my Gecko. However, I didn't want to copy any of his canes, so have spent literally hours on Pinterest looking for inspiration for canes, especially decorated tiles, Aztec designs, patchwork and doodle art. Jon gets a lot of inspiration for his canes from architectural ornamentation and suggested that I look at the Carson Pirrie Scott building in Chicago. 
This building is INCREDIBLE! These are a couple of photos that show the intricate architecture.
Picture
Picture
I decided to make an A4 size page into squares, and fill them all with cane ideas, and a few vaneers. I've done 70, and have decided to attempt to try and make them all. I do like a project!
The top picture is of all 70, and the picture underneath are some that were inspired by the Carson Pirrie Scott building.
Picture
Picture
So, after designing all these canes, I need a colour palette, and some clay blends.
Friend number three in this blog is Donna Baratta; she's a friend I met in France at a clay workshop run by Doreen Gaye Kassell, and someone who distance is no barrier to friendship. Two years ago she visited me for a week, and last year I visited her. This year understandably we haven't seen each other, but still chat a lot via messenger. When she visited we decided to make a colour palette each of 7 colours, and use them to make canes with over the week. 7 may be my lucky number, but we got just a little over zealous in our colour making! I don't know how many we ended up with, it was considerable, and the collection keeps growing. These little recipes of colour blends are now in little discs in coin collector plastic sheets, and I spent a very happy hour or two picking out all the colours I most liked from some wall tiles on my Pinterest board. Being somewhat colour blind I'm never sure what goes with what, but Iain looked at them and said they were all fine, all very autumnal, and I realised that those are the colours I'm most drawn to. Here they are:
Picture
Next job is to get the clay together and make the blends. Ah, that involves getting up, so what you can see in the next photograph is a whole day of clay activity for me!!!!
Picture
On the back of each disc is the colour recipe, and I always make it into 8ths. I originally used fractions, but it started getting difficult when the recipe had 32ths, 16ths and quarters all in the same blend. So when making up the blend, roll the clay out on the thickest setting of the pasta machine, and use a cutter (size depends on how much of the blend you want), and cut out the numbers of circles in the recipe. Below is the recipe for reed.
Picture
Picture
I also have a table of all the colours and their recipes incase I lose the disc or can't read what's on teh back.
Getting back to the Occupational Therapy part, I'm always trying to stress the importance of not taking on everything yourself, delegating tasks where possible, and not feeling a failure if you can't save the world all by yourself. So, practicing what I preach, friend number 4, Linda, is kindly coming round to roll the clay flat in the pasta machine, give to me to cut out the circles from my lady a leisure recliner, then blend it for me; all ready for my 5 minute windows of happy claying.
I'm so lucky with my friends!

Donna Baratta (American friend) has just made a website. Donna's work is wonderful, when I sat next to her at the France workshop, I was amazed by the precision and care that she took with everything. Whereas I'm all polymer clay, Donna likes to combine bead embroidery and hand-made silk with the polymer clay to make exquisite wearable jewelry. Have a look on her website on http://www.donnabarattadesigns.art. This necklace is one of my personal favourites. 

I'll keep you posted on my progress of 'operation-gecko'. This post-operative recovery period has really made me appreciate what good health I usually have, and think about all the people who struggle with conditions that don't get better over time, yet still carry on, living their lives and producing wonderful art.

I'm now off to make an order with Penny Vingoe at Clayaround, I seem to have depleted my clay stock a little over this gecko!!

4 Comments

BLOG stands for Blooming Long Overdue Gabble!

4/13/2020

4 Comments

 
Well, the New Year's resolution's going well isn't it. Already into April and only the second blog of the year! I write amazing blogs you know...…………...while I'm on my dog walks. I chat away to myself, I'm witty, clever, and interesting; then sit in front of the computer and all I can say is "I'm late again!".
My mother was an English teacher, I don't think I've taken after her.
Anyway, I've been doing quite a lot recently. But the first thing I have to say is...………….
I'M SO EXCITED, PEOPLE ARE MAKING PAT THE FLAT COW!!!!!!!
My Polymer Clay Adventure project went live on Easter Friday, and someone's already made her cow. I'd like to show you but it's her photo, if I get permission I'll post it. It's so strange knowing that people are watching my videos of the process of making Pat. 
If you're interested in joining the Polymer Clay adventure, the price is usually $120 for the 23 wonderful tutorials, but as it's my month to show, if you go though my link, it will only cost you £99. Not a bad price for 23 fully video'd tutorials from experienced clay artists (and me!) The link is https:gumroad.com/a/40744051   
​
Picture
In February I went back to Rome, for three days of polymer clay workshops by incredible tutors. This year we had Kathleen Dustin, Fabiola Perez Ajates, and Olga Ledneva, and oh boy, what a lot we learned. I've attended Kathleen and Fabiola's workshops before, but these ladies are so talented that I could attend workshops with them for a year and would probably still not learn everything they know. I talked to David, Fabiola's son who attends with her, and he said that she spends around 8 hours a day in her workshop! Anway, these are the results of my three days. The single pendant is from Kathleen's class, the assortment of four pendants were from Fabiola's class, the two pendants with animal transfers on were from Olga's class, and I made a chicken in the style of each of the tutors. Not sure all were impressed!!! The last picture is of, from left to right, my lovely friend Judy who I met in Rome last year and have become firm friends, Fabiola (have to say my favourite tutor of all time), me, and my other lovely friend who I met last year as well, Jackie.
Picture
Picture
Picture
Picture
Picture
So, after Rome comes Polymania. It's useful that the two main clay workshops are at the beginning of the year, February and March, before the carriage driving season starts. However, we weren't banking on Corvid-19 rearing its ugly head. Cara Jane Hayward is incredible. She tried her hardest to run the event, but government recommendations dictated at the last minute that it was not to be. Donna Kato (one of the tutors) had to rush back to America, Bettina Welker was in Germany, and Sarah Shriver was in America, and neither could leave. So, we had the first 'video-linked' polymania, three days of interactive videos from the tutors with a live facebook group to ask questions. "Where there's a will there's a way" is obviously the polymer clay community's motto, especially when lead by the formidable Cara Jane. This was the set up in my house, prepared for Sarah Shriver's class, and my final efforts.
Picture
Picture

Picture
After the excitement of the workshops, I was inspired to do something different myself. An advent for a peroskey stone popped up on my facebook feed and I was blown away by how beautiful they are. I looked on google (what did we do before google?) and found they  The Petoskey stone is fossilized pre-historic coral fossilized rugose coral found in the Michigen, USA;.

Picture
I decided to have a go at replicating it, and resisted the temptation to see if any other polymer clay artist had already done so, as it was unlikely that they hadn't and I didn't want to be influenced in how I made it. After a couple of tries I was really pleased with the result. But more exciting than that was that Dr Ron Lehocky saw the cane and liked it. I then sent him some of the canes and he made heart out of them. For those who don't know about Dr Ron Lehocky, he is a retired children's doctor and has been working with special needs children since 1974. Sales of his unique hand-made heart brooches have raised over $100,000 for the Kids Center for Pediatric Therapies in Louisville, Kentucky. In 2016 he'd made around 33,750 pins since beginning the project 10 years before.
Each heart-shaped pin cost $10 and every penny goes to the Kide Centre. Polymer clay artist donate their spare canes and he makes the most incredible pins with them. Here are just a few of his hearts. 

Picture
Picture
Picture
Picture
Picture
Picture
The pink and grey ones are from my canes (cue little happy dance!) Dr Ron has also made a free video demo of how he makes his hearts. I'm not quite computer savvy enough to give you the link, but if you google it, or look on youtube, you're bound to find it, it's very clever.
I was due to have a back operation in April, but that has obviously been cancelled. In preparation for it I was trying to get as many projects photographed for book number two, so that if I had to sit still for a few weeks, I'd have something to keep me going. So, the Petoskey stone photos are waiting to be made into a tutorial, along with my latest animal, the Llama.

Picture
I've done the photos for the body and coat, but now have to work out some original canes to use for the blanket and packages. Something else to do while sitting down!
I'm  going to leave you with a project that started off with a little idea, and grew into a much much larger one. For Polymania, we usually have a swap, we are given a project to make and we then 'swap' them between us, it's a great way to see other people's work and get to know them better. The swap this year was a bookmark. I decided I wanted to make a stack of cups (as you do!), so of course, instead of just making it, I took photos of it, and it will eventually end up in book 2. However, I so enjoyed the process, that I made one with cats. That went well, so I decided to go bigger and make a vase. That also went well so I moved onto a dog vase. That was a HUGE piece of work, and oddly enough didn't come out as well as the cat vase, but I learnt a lot. All they wanted was a bookmark. I made three, and two vases! Here are the photos. Bye bye, lets see if I can write the next blog in under three months!!!!
Picture
Picture
Picture
Picture
Picture
Picture
4 Comments

The road to hell is paved with good intentions...…. welcome to a motorway!

12/31/2019

5 Comments

 
Yea gods, it's been ages since my last blog; my New Year's resolution is obviously going to be " keep my blog up to date". So much has happened over the past couple of months, and I've lost count of the amount of times I've thought "oh, that will be good in the blog". 
So, where to begin. 
I ran a weekend workshop with the lovely Karen Walker in Essex. Tracy Marriot has a great workshop space and allowed us to use it for the two days. I taught the patchwork bunnies again, and Karen taught a hare - quite a theme going on there.
I made a big mistake; the patchwork bunny workshop is a two day workshop and I decided to do it in one day. I did it, but boy, the amount of preparation needed was immense, I was up until after midnight for a couple of weeks preparing everything so that the bunnies would be finished. I really must learn from this and not squash quite so much into my workshops. Trouble is, that's me. I squash as much as I can into everything. Hey ho, learning curve alert!
So, here are some photos of Tracy's workshop space (in case anyone in Essex wants to hire it, I can thoroughly recommend it), and the wonderful bunnies and hares that were made. I finally got to do one of Karen's workshops, In the past we've always taught on the same day, so it was a real treat for me.
Picture
Picture
Picture
Picture
After the workshop I spent a while looking at youtube videos, and relaxing a little, and found a wonderful video of making turtles by TurtleSoupBeads. I've taken a printscreen shot so you can look it up yourself, it's a sweet video, and totally inspired me to use up some of my old canes.
Picture
As you know, I work for the NHS, and our little Occupational Therapy team work hard to meet the demands of the service in a challenging time. We are a great team, I'm very lucky with my work colleagues and decided to have an evening claying with them. A couple didn't believe they would be able to make something they were pleased with, but everyone had a great time, and for me, seeing how clay worked it's magic on my friends was the best part of the evening. We all made some turtles, thanks to the TurtleSoupBeads video, and a fairy house clay evening is already in the calendar for next year.
Picture
Picture
Picture
For Christmas I decided to try my hand at making pens. My friends Aoife and Laura in Ireland make wonderful pens, so I was inspired. I bought a tutorial from Debbie Hart, and made some pens. Although I love designing things myself, occasionally I like to get tutorials from other tutors, and their wealth of knowledge can only improve mine. I adore Debbie's colours, and had real trouble giving the pens away! Have to admit, one did find its way into my Christmas cracker...…….....
Picture
Then, a few more pens had to be made. I have a friend in Brentwood who is a wonderful gardener and photographer. Every year this incredible clematis Montana flowers, and he took a photo of it for me which I have in my house. I decided to make him a pen with clematis flowers on it. 
Picture
Picture
My next projects are going to be a continuation of the vases, and a llama. I've had great fun going round the charity shops and buying lots of vases, I think I have enough now...………….
Picture
Picture


​I've already covered one with some of the zentangle canes I made for Pat the flat cow, my project for the Polymer Clay Adventure.


I found some paintings of water drops. I know others have made water drop canes, but I'm going to do one myself as I think they would look wonderful on a vase. So, watch this space!

Right, I have a poorly husband snoring next to me while pretending to watch Midsummer Murders, and I'm about to lock all the cat flaps and keep my four legged friends safe from New Year fireworks. I must be getting old. One glass of wine, and an early night so my day off tomorrow can be spent claying.
Picture


George my ginger cat wanted to get in on the photo - I must remember not to cover him with zentangle canes!

Picture
Hope you all have a lovely New Year, and are inspired to work on your clay dreams next year. I know I am!  I shall end the year on something that makes me very very happy. Tidy clay shelves :) 
Picture
Picture
5 Comments

America........ A week of claying....and I saw a groundhog!!!

10/28/2019

6 Comments

 
What a week. Seven days in the company of a good friend, a good ‘claying’ friend at that, her husband who brought us wine, a cuddly dog, and a whole workshop dedicated to claying; and the most important thing, actually free time to indulge in the claying! As is my way I had a far too large a list of what I wanted to do, and Donna did too, so we were bound to feel a week wasn’t long enough, but what we did do was plant seeds, creative seeds that can be pursued at leisure. I saw a painting of trees and decided that this was what I wanted to do most. So, as I wanted stripy trees I went for a technique taught by the wonderful Debbie Crothers, of making lots of vaneers and cutting them into little strips. I went for main,y yellow, Donna for pinks and purples, and we both went to bed soooooo unhappy with what we had made.
Picture
We spent the second day making them into stripes, and wow, we were really pleased with them! Just goes to show, sometimes you just have to have a little faith. After that we played about with backgrounds and back filling, and ended up with something that, although not perfect, has definite potential. I can’t wait to carry on with ‘operation trees’ when I get home.
Picture
Picture
What else did we work on? Well, my list included a horse cane, a number of new canes to make a turtle, lampwork beads, design a new rose cane, translucent canes, and making a couple of pens. Hmmmm, the horse cane has a mane and one ear so far, we did a number of canes and made a turtle shell, but the rest are for another time. It’s not as if we spent long doing anything else; Al, Donnas husband suggested showing me the beach......I hate beaches and water, and said could we go to Michaels instead. For non Americans, Michaels is an amazing craft shop. We also went to the local dairy farm that sold ice cream. There were so many flavours I had to go four times. It would have been rude not to.
Back to clay (although the walnut and maple ice cream is still in my mind), we looked at painted Mexican wood carvings of animals, look them up on Pinterest, they’re incredible, and a wonderful inspiration for canes. After spending far too long trying to decide which ones we wanted to attempt to make, we ended up with these. This is a photo of them packed ready to bring home.
Picture
When I’ve covered the turtle I’ll post a picture. I have a few days once I’m home before I return to work, and I have plans for solid claying!

Everywhere you go there’s clay inspiration. America is wonderful at celebrating holidays, and they have Thanksgiving and Halloween coming up. Nearly every porch has some sort of display, makes great viewing when travelling anywhere. And yes,I was so excited to see so many porches, just like in the American films! Look at the pumpkins in one shop we visited. Those colours!
Picture
Spending time at JFK airport gives me time to write the blog, but also I’ve promised Donna that I’ll get onto Instagram. I have absolutely no idea what it is, or why I need it, but I think I’m just kicking against doing any more technical stuff, after all, I am writing a blog, that’s almost surreal! Anyway, she is a great friend, and encourages me to do things out of my comfort zone, so, I promised, so will go look up what it is and how to join. Before I go, just a reminder that everyone who subscribes to this blog (a little box on the top right of this page) will be put in a draw at the end of this week to win a free ticket to the Polymer Clay Adventure 2020.
Picture
To find out more about this wonderful adventure where 23 polymer clay artists have put together tutorials of the projects above click on https://gumroad.com/a/40744051 If you register before January, it’s a special discounted price. And don’t forget, a free seat, courtesy of Ilysa and Kira, will go to someone picked randomly from my subscribers. Good luck!
6 Comments
<<Previous

    Helen Cruickshank

    Archives

    December 2021
    October 2021
    October 2020
    August 2020
    July 2020
    April 2020
    December 2019
    October 2019
    September 2019
    August 2019

    Categories

    All

    RSS Feed

    Subscribe to my mailing list

    * indicates required
    / ( mm / dd )
Powered by Create your own unique website with customizable templates.
  • Home
  • Gallery
  • Get In Touch
  • Blog